orkiva
 Plain YAML#
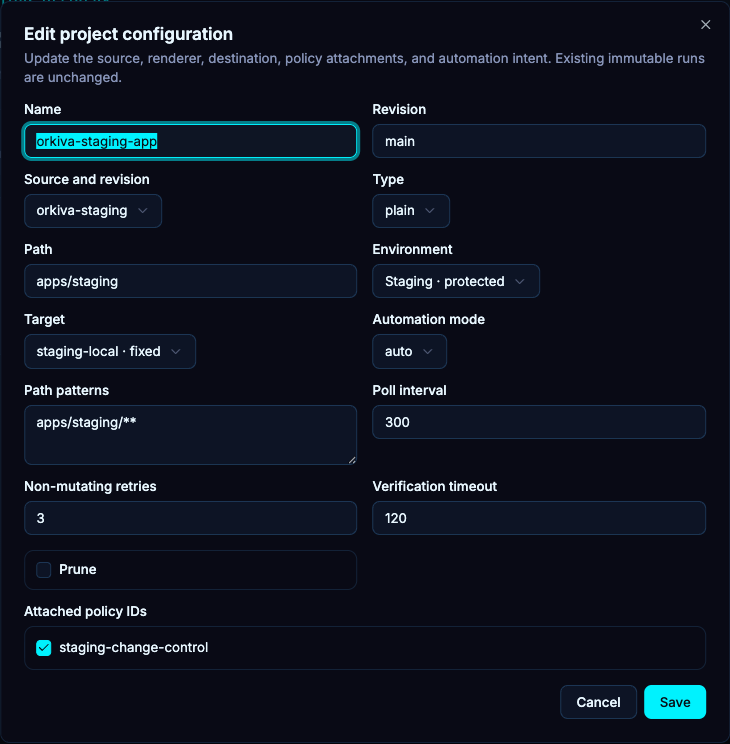
- Choose YAML/plain as the renderer.
- Set the repository-relative path containing the manifests for this project.
- Preview the selected revision and review the rendered object count and identities.
- Ensure namespaced objects target the allowed namespace and cluster-scoped objects are intentional.
A renderer path is inside the fetched repository. Do not use a path on your laptop or a path intended to escape the checkout.
Helm rendering#
| Field | Use |
|---|---|
| Path | Repository location containing the chart. |
| Release name | Name used during chart rendering; keep it stable for the project. |
| Namespace | Namespace passed to the renderer. Review resulting objects against the target. |
| Values | Inline values YAML overriding chart defaults. |
| Value files | Repository-relative values files in the required order. |
| Skip CRDs / dependency option | Use the exposed options deliberately; renderer policy and dependency constraints still apply. |
GitOps Helm rendering is not the same workflow as the separate Helm Release management page. Inspect what the renderer produces and how Delivery applies it; do not assume a UI label means both subsystems share identical lifecycle behavior.
Kustomize rendering#
- Choose Kustomize and point to the relevant repository directory/overlay.
- Keep referenced inputs within the supported repository-only loading restrictions.
- Preview and verify the final names, namespaces and patched values.
- Correct invalid references or unsupported configuration before starting an apply run.
Form and configuration view#
The onboarding renderer step offers a form and a YAML configuration view. Use the view appropriate to your task, then preview again after switching or editing. Treat the previewed commit and configuration together as the input being reviewed; a later source change needs new evidence.